![]()
Case management
Suppose that you want to use the LEGO remote control and have an RCX reaction for any button pressed on the device. Or imagine that you want to build your own LASM code interpreter. Those problems are characterized by a long series of IF THEN instructions, generally organized through CASE or SWITCH structures. Standard ROBOLAB does not know any of these. However Ultimate ROBOLAB does !
As usual we want to introduce the function through an example.
Challenge: Create a standard RCX reaction-set to any button pressed on the LEGO remote control.
1. Preliminary sub.vis
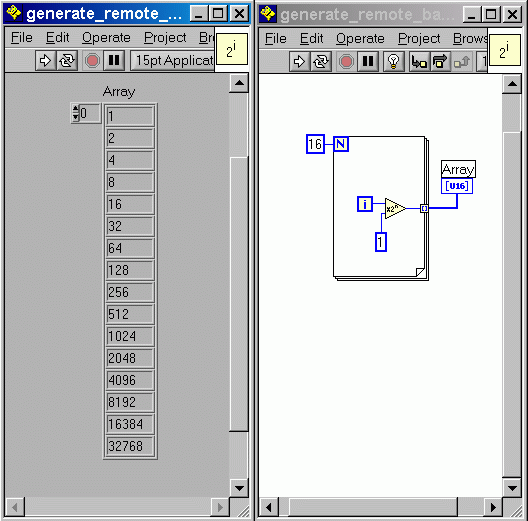
First, let's have a look at a small LabVIEW to generate successive powers of two that we need as a mathematical base to analyze with the remote control messages :
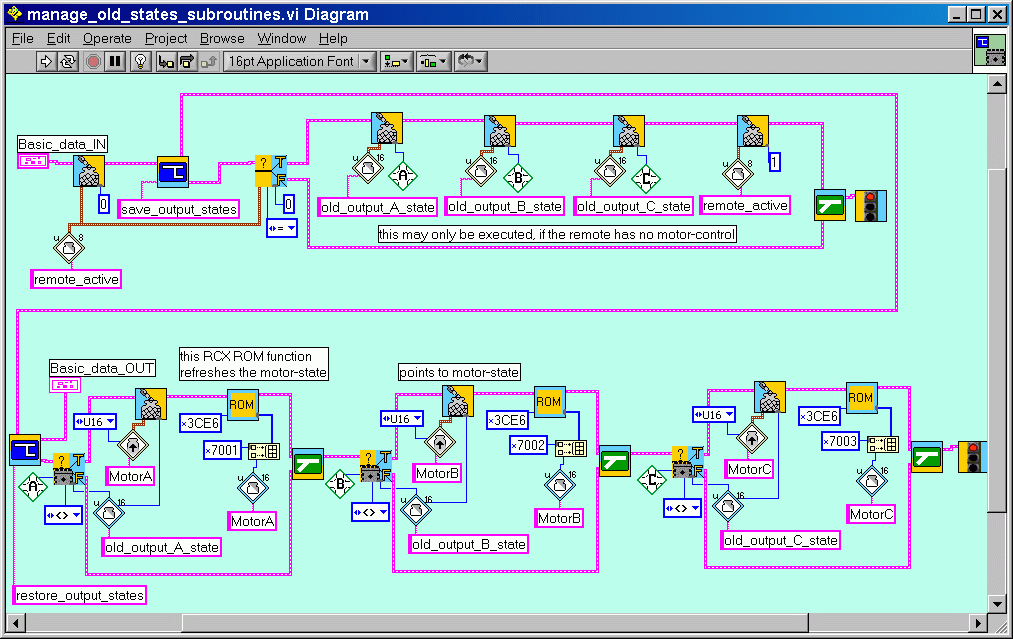
Another sub.vi that we want to implement handles actual RCX motor-states. Normally it is desired that the remote control may override the current motor-state, but also that the release of a remote-control motor-button returns the motor to the previous state. The solution consists in storing the current motor-state into a temporary variable whenever a remote motor-button is pressed and in recalling this value after the remote-value is reset to zero. Actually for simplification the program always actualizes all 3 motors.
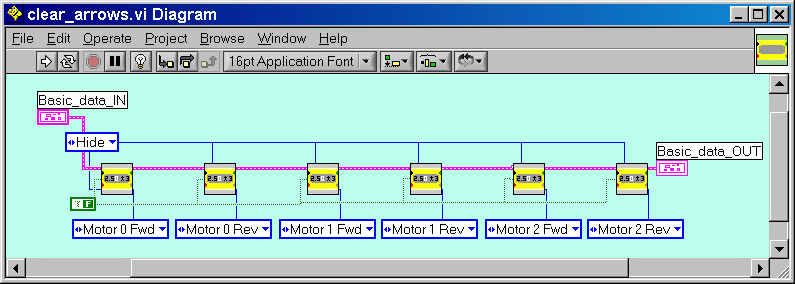
A third user macro is engaged in this program. It is used to clear the motor-arrows in the display :
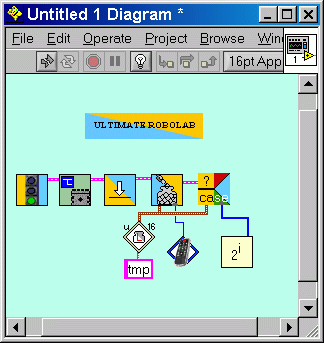
2. The case code
Now, consider the following code-part:
|
|
|
Now we add the case_code icon to the program. Note :
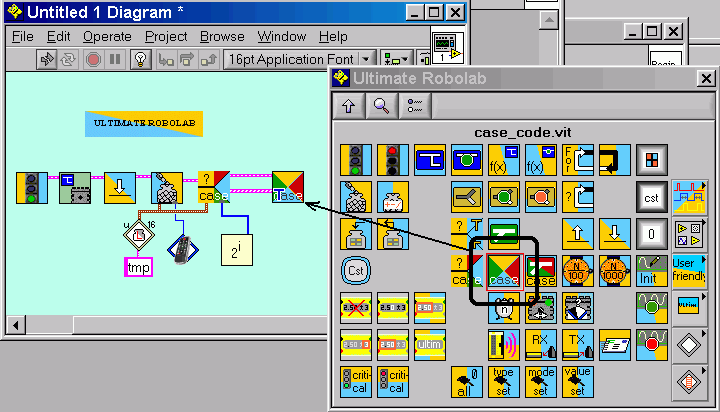
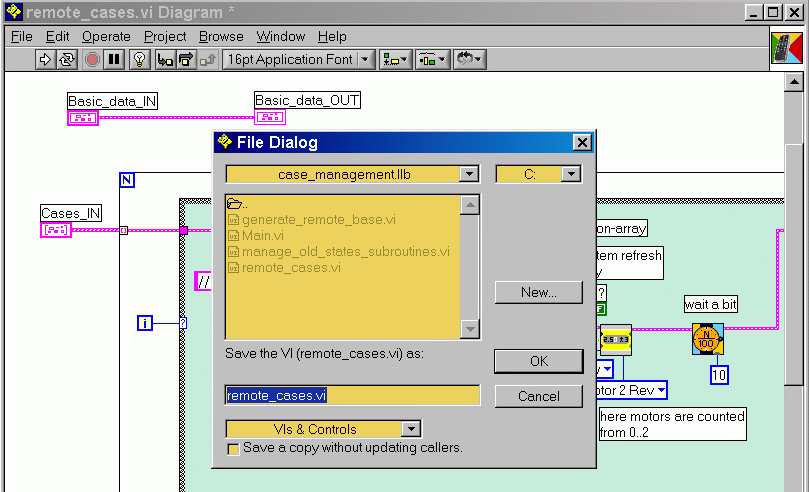
Now we write the code for all the cases and save the graphical code as a sub.vi. (It is important to manually add the extension .vi, otherwise LabVIEW will add the extension for templates .vit !!)
The code for the case of the Rev C button looks like :
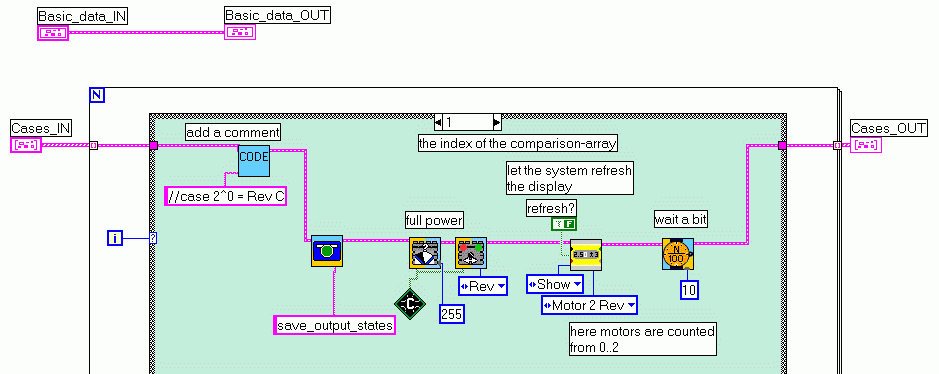
Note that the index of this case now is 1, since we added the value 0 to the power of 2 array. We did this, because the remote-value is changing to zero, if no button is pressed. Also note that we add the motor-arrow to the display. (For speed gain the motor-arrows are not active in the normal Ultimate system-kernel.)
If the remote value is returning to zero, the program should once restore the old motor-states and clear the motor-arrows.
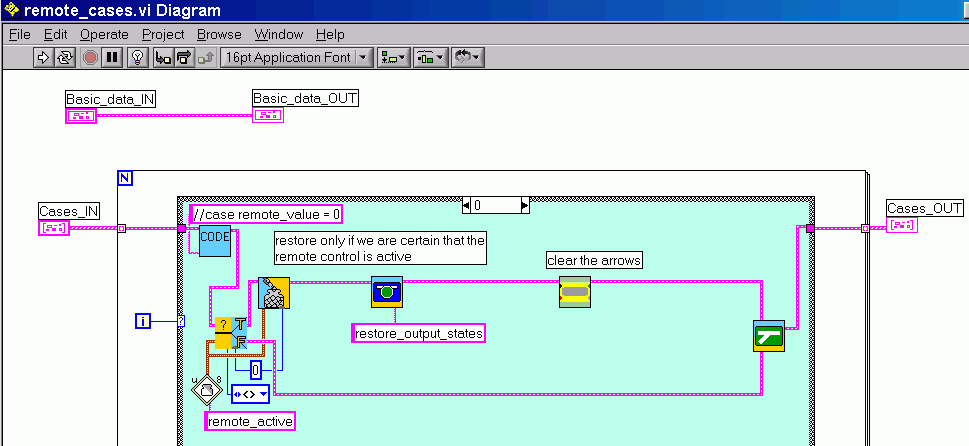
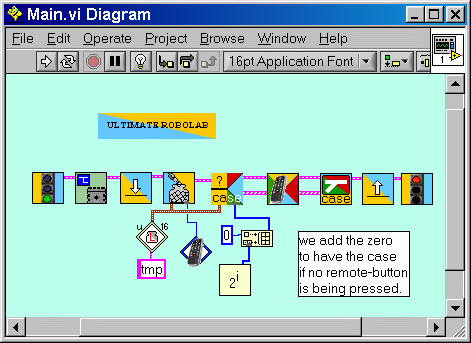
This program proves that with some minor effort you are able to control various program-cases.
You may download the program as a firmware : case_management.srec .