1. Getting started
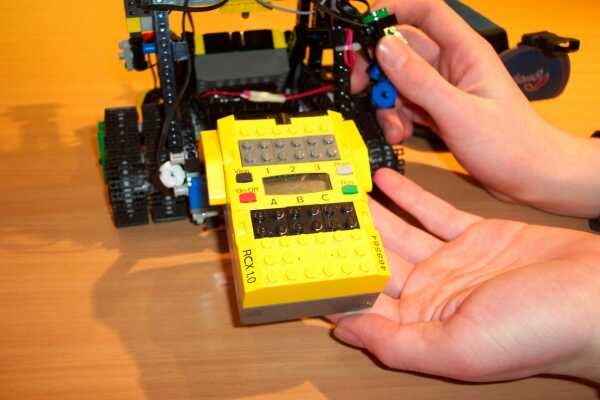
1.1. Installing batteries
Needed: 12 x AA 1.5V (or 1.2V rechargeable) batteries and
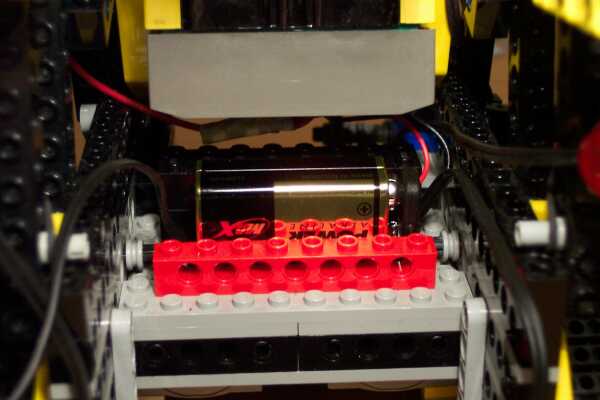
1 x 9V-block
Note: at program start the RCXs display the
battery-voltages
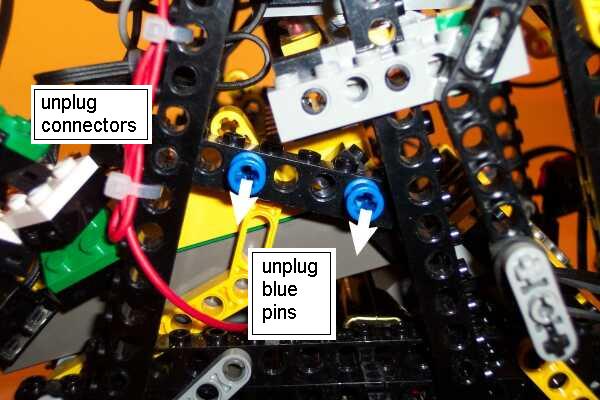
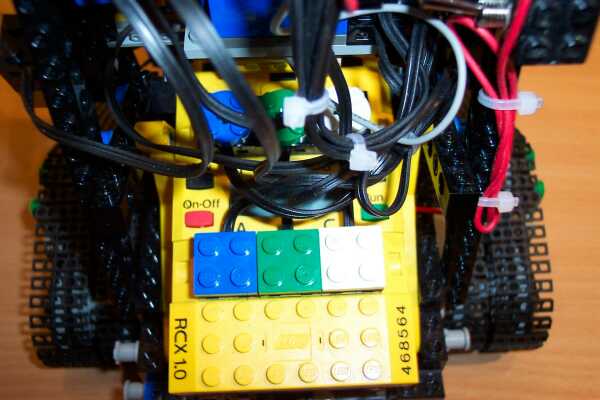
- unplug all the wires from both RCXs.
- on both sides unplug the blue pins
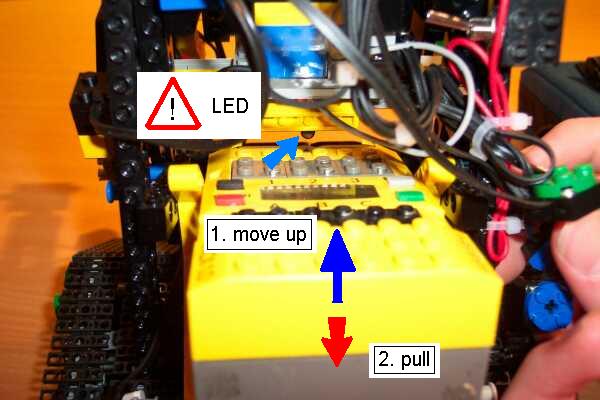
- move up REAR-RCX a bit
- pull back REAR-RCX (ATTENTION to the LED !)
- now that the RCX is free, place or replace batteries
- replace REAR-RCX (again put attention to the LED ! Do
not squeeze wires !)
- replug connectors (Leads up ! Respect colours!)
- move FRONT-RCX
- place batteries
- now the 9V-battery location is reachable, install the
battery
- Replace FRONT-RCX (Do not squeeze wires !)
- Re-plug connectors correctly


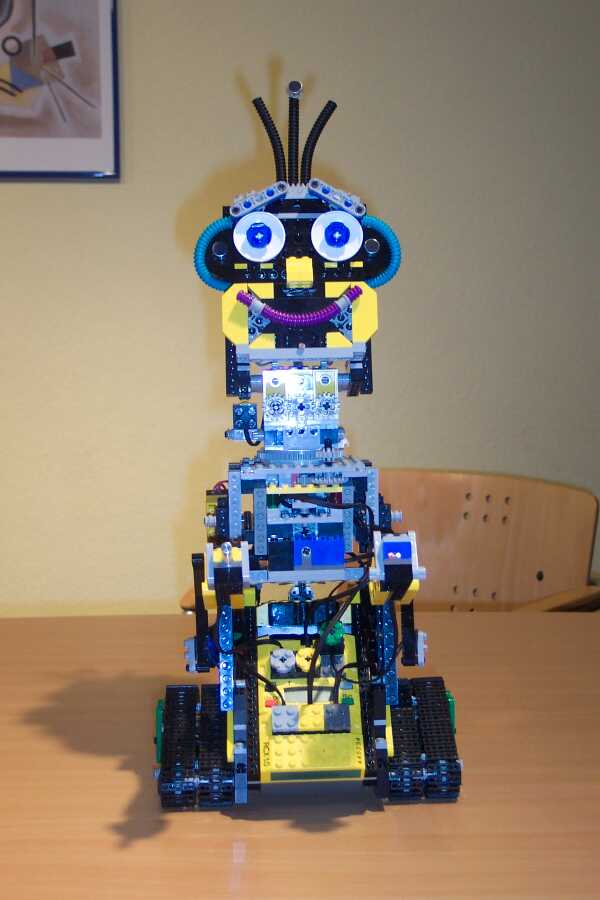
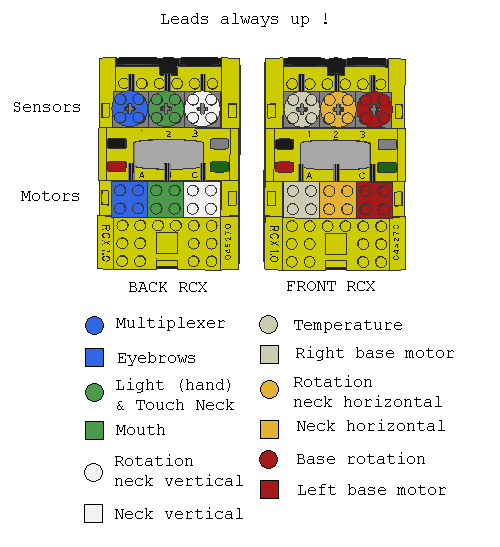
1.2. Testing the ears
- Verify that the top microphone points to the front
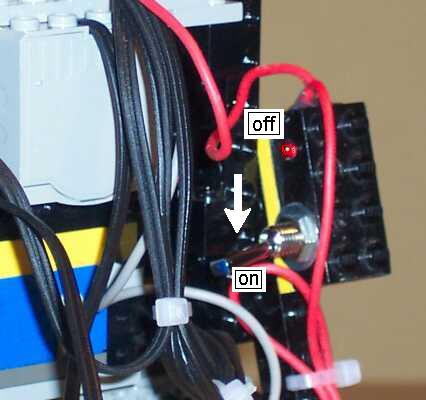
- Switch on sensor
- The switch-LED should go on
- Wait a few seconds
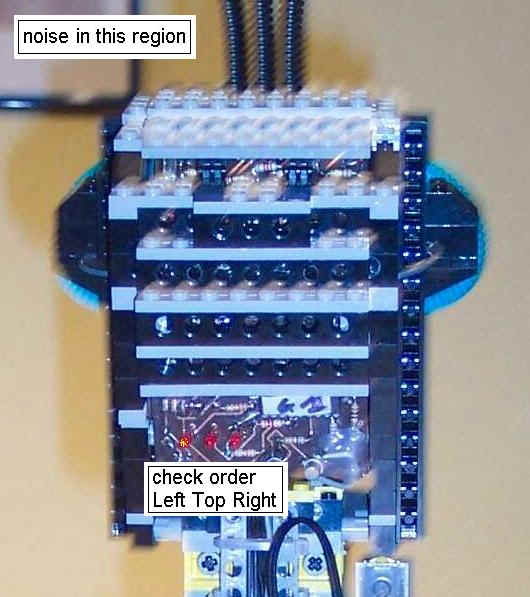
- Produce any noise to activate the sensor and check the
LEDs on the sensor PCboard. They should blink
shortly in order of the sound-wave impacts.
- If the LEDs don't stop blinking, check the 9V battery
power.
- Switch on one of the RCXs (the firmware should have
been loaded before)
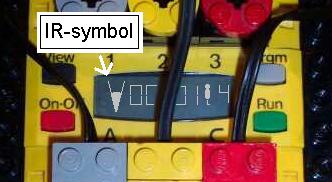
- Does the IR-symbol appear in the RCX display at any sound-sensor reaction?
1.3. Download the
RCX-programs
- Run Robolab 2.5.2
- Download the RCX-firmware to both RCXs, if this has not
been done yet.
- Be sure the IR-tower and the RCX are close to each
other
- Switch off the noise-sensor
- Turn on FRONT-RCX only
- In Robolab Programmer open MAIN_FRONT.vi
and download it to the RCX
- Turn off FRONT-RCX and turn on REAR-RCX
- In Robolab open MAIN_REAR.vi
and download it to the RCX
1.4. Selftest
To avoid greater catastrophes, GASTON
operates a few self-tests at start. If a mulfunction is detected, the concerned RCX immediately breaks all the running tasks. An acoustic signal is sent and an
error-code is visible on the RCX display. After the successful tests, no further error-states
are checked.
If GASTON does not work correctly, first check the
connections. What about the battery-charge? Is one of the motors being stalled?
If errors persist, please contact the producer.
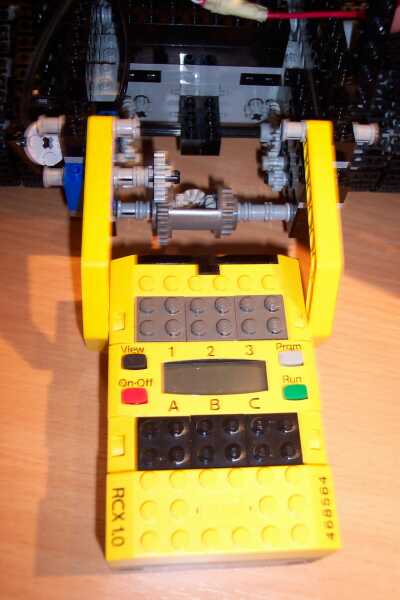
1.5. Run GASTON
IMPORTANT NOTE: BEFORE RUNNING THE PROGRAM
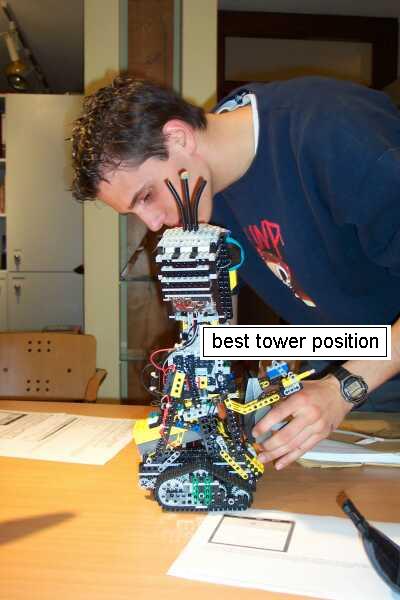
ON REAR-RCX, FIRST MANUALLY TEST THE NECK-TOUCH-SENSOR :
- Press the RUN-button
twice
- Press the VIEW-button
3-times (the little arrow should point to the green sensor connector)
- The display should show values around
750-800
- Now press the Neck-touch-sensor
- The values should pass to less than 100
There's no matter which RCX is started first. So run the
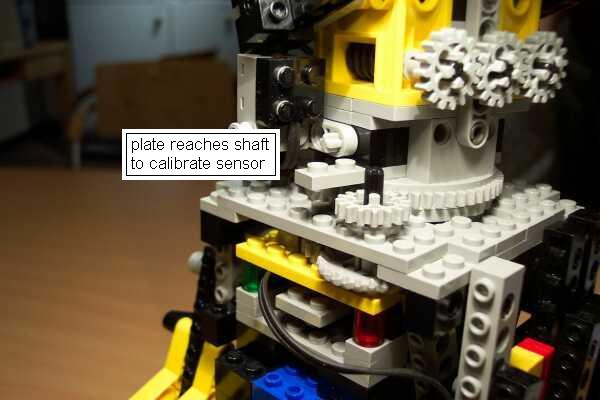
RCX-programs. GASTON executes some calibration operations. The head is turning
to the left (GASTON's left side) until the neck-fixed LEGO-plate hits the
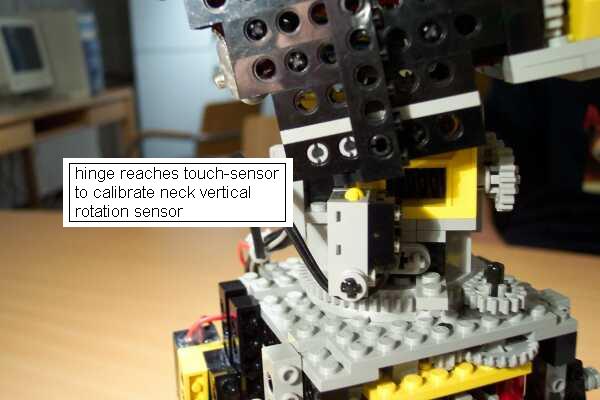
gear-shaft. Now the head returns to zero position. Simultanously the head is
moving back until the button is pressed. Then the head moves fore to vertical
rest-position. GASTON runs a test of its facial functions and makes a short beep.
Switch on the noise-sensor. Now the robot is ready to interact with its environment.